Embeddable User Interface
By using EUI you have the possibility to skip part(s) of the API integration towards us and still provide your customers everything directly from your product. Your end customers can also get a possibility to have a quick access to our new features and services without them having to wait for developement and changes on the ERP side thus reducing the time to market of our new cool features. Embedding the EUI to be part of your product is really easy and does not require lot of time or development resources.
Even though almost everything can be done via the EUI there is still some functions that we highly recommend that the ERP does through the normal Maventa API integration:
- Providing a easy on-boarding of customers - register to Maventa “by touch of a button”
- Sending and receiving invoices (and other documents)
- Different invoice handling workflows like approving invoices
- Adding new users to Maventa company account
Basically all the rest can be done via the EUI:
- Listing of invoices and documents and viewing their details
- Resending and rerouting invoices
- Toggle Maventa settings
- Register to receive through different networks
- Search for receiver’s e-invoice addresses
- Listing of consumer agreements (Norway)
- Enable (and use) functionalities like: Consumer invoicing handling (currently only for Norway), Receivables Management Service for Finnish companies, Detect, Visma Scanner
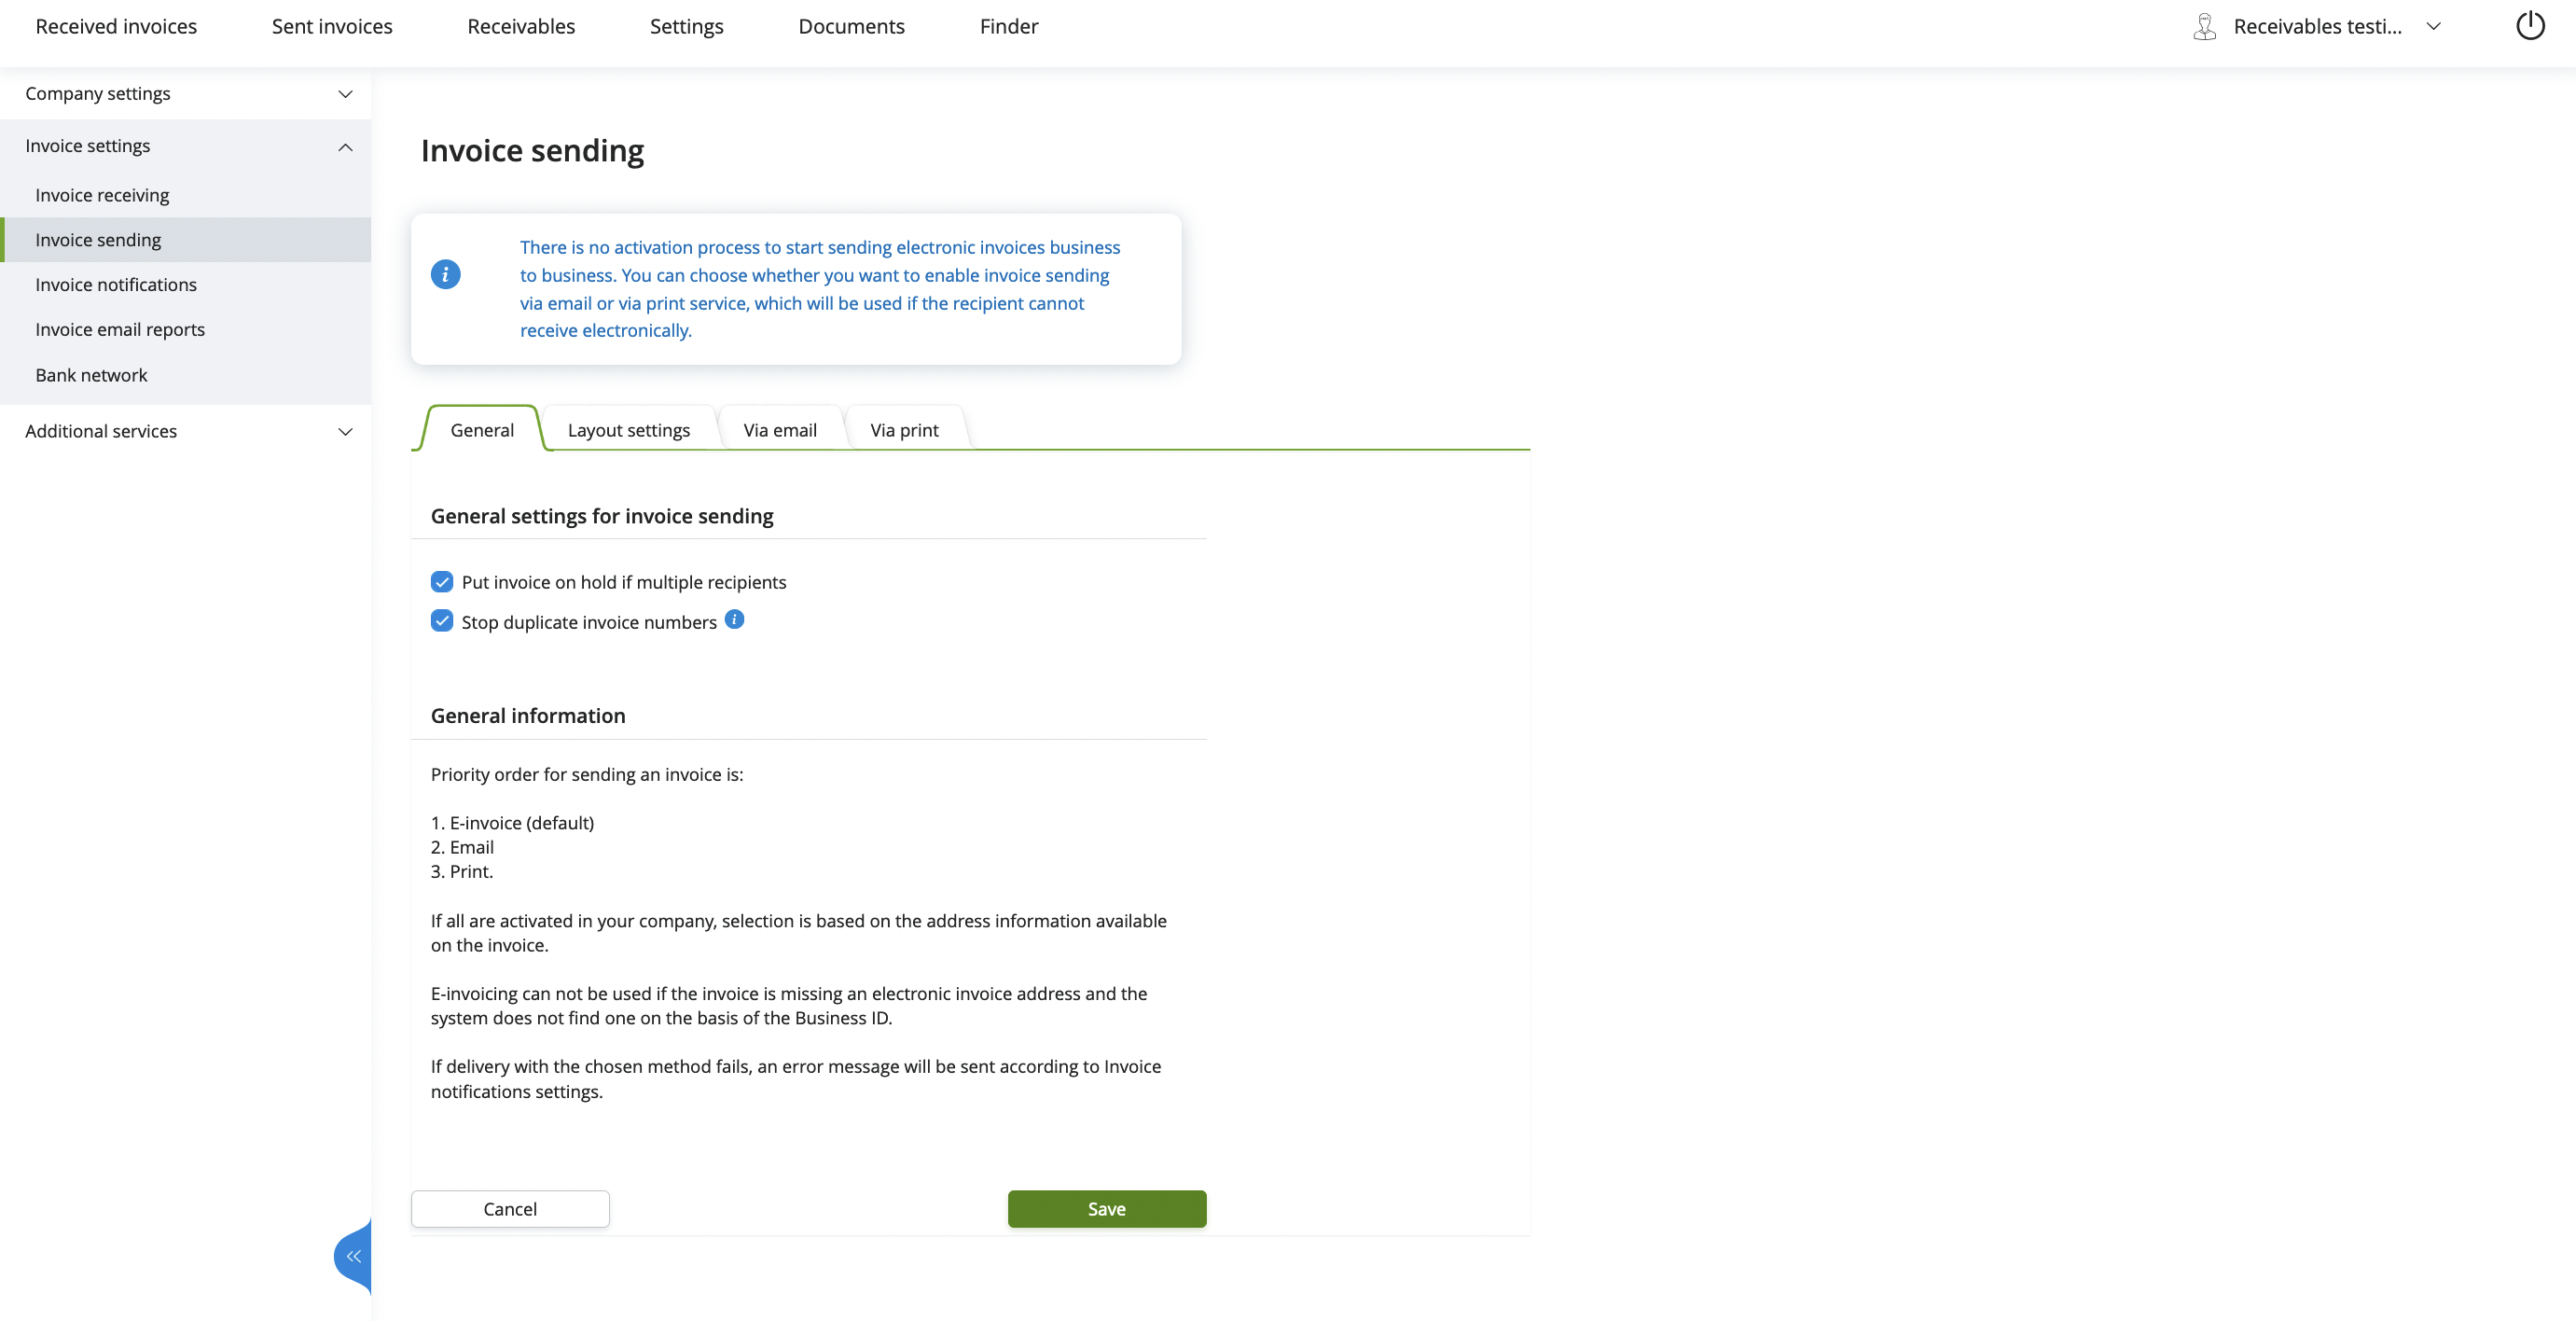
How does the EUI look
How to take the EUI into use
Decide what to show to your customers and how
First you should think a bit what do you want your end customers to see. What parts of the EUI they need? And then decide how to show those views. Should you add one button to open up the whole EUI and let customers navigate themselves to the page they need or should you show different views in different parts of the ERP depending on the context (Settings view embedded into the part which shows ERP’s settings, and invoices lists where there are invoices listed on the ERP)?
Read more about the customisation of the EUI. Our team is happy to assist you in deciding what would be the best fit for your ERP. If you want help in deciding or if you have made some decisions youself contact Maventa support and ask for an EUI ERP profile. We will then set up you profile based on your preferences.
Decide how to embed
It is really easy to embed. We offer two different solutions for embedders, one where you can include a script tag on your HTML page within your product, and another one where you can use an iframe (or similar solution) to embed the EUI. First one we recommend to those products that are running in the user’s browser because with the iframe solutions there might (and most likely will) be problems loading cross-domain content. Both of these embedding methods, script embedding and Iframe embedding, explained in details.
What is common in both ways to embed are the domains listed below and that you will need to get an access token for the company.
We currently host the EUI under 3 different domains:
Production environment:
autointerface-embeddable.maventa.comautointerface-embeddable.autoinvoice.visma.com-
autointerface-embeddable.visma.net(Visma internal use)
Testing environment:
autointerface-embeddable-stage.maventa.comautointerface-embeddable-stage.autoinvoice.visma.com-
autointerface-embeddable-stage.visma.net(Visma internal use)
Fetch an access token for the company
Authentication and access to the EUI is done using token based login (based on company_uuid, user_api_key and vendor_api_key).
The token to open EUI is fetched using the AX Oauth2 endpoint using the following parameters
| Parameter | Desciption | Value/example |
|---|---|---|
| vendor_api_key | The vendor API key for the ERP | 37fc1ebc-dd4f-11ea-87d0-0242ac130003 |
| scope | The scope that is needed, eui is required | eui |
| grant_type | The OAuth2 grant type | client_credential |
| client_id | company_uuid | 298c6ce2-dd4f-11ea-87d0-0242ac130003 |
| client_secret | user_api_key | 32d74434-dd4f-11ea-87d0-0242ac130003 |
Endpoint for getting the token: Testing: https://ax-stage.maventa.com/oauth2/token Production: https://ax.maventa.com/oauth2/token
cURL example for fetching a token
curl -X POST "https://ax-stage.maventa.com/oauth2/token"
-H "accept: application/json"
-H "Content-Type: multipart/form-data"
-F "grant_type=client_credentials"
-F "client_id=company_uuid"
-F "client_secret=user_api_key"
-F "scope=eui"
-F "vendor_api_key=erp_vendor_api_key"
Example of a successful token response
{
  "access_token": "eyJhbGciOiJIUzI1NiIsInR5cCI6IkpXVCJ9.eyJpZGVudG......",
  "token_type": "bearer",
  "expires_in": 3600,
  "scope": "eui"
}
When you have an access token you can then use it in the emdedding solution you have chosen, script embedding or Iframe embedding. Both are explained below:
Method 1 - Script embedding
Add script tag <script> in your browser page with the following content:
<body>
    <div style="height: 1024px" id="eui-container"></div>
    <script src="http://autointerface.visma.net/embed"
            data-token="eyJ0eXAiOiJKV1QiLCJraWQiOiJjODJhZTdiZTU...."
            data-container-id="eui-container"
            data-default-path="/invoices"
            data-profile="my_erp_profile_name"
            data-locale="en"
            data-setup-top_menu="false"
    ></script>
</body>| Parameter | Desciption | Value/example |
|---|---|---|
| src | Main URL for EUI | http://autointerface.visma.net/embed |
| data-token | access_token property from the OAuth2 response | eyJhbGciOiJIUzI1NiIsInR5cCI6IkpXVCJ9…. |
| data-container-id | Must match the id of the div. Inside this div the EUI will be rendered | eui-container |
| data-default-path | What page to open. List of direct URLs | /invoices |
| data-profile | Each ERP will have their own profile for customisation | my_erp_profile_name |
| data-locale | For defining language of the EUI (fi,se,no,dk,nl) | fi (default = company’s country) |
| data-setup-top_menu | Setup parameters for further customization if needed | data-setup-… false = hide / true = show |
| div style=”height:..” | a Proper height must be given. static or dynamic. If not defined you won’t see the EUI | div style=”height: 1024px” |
In the above example the EUI is opened directly to the invoices page, language is set to be english and the whole top menu is hidden.
With this embedding method there is no way to renew the token. This means if the user has the EUI open for over one hour the session will be unusable and needs to be restarted with a new authentication. So remember that the token will expire in one hour and user will be kicked out. When that happens customers should be able to refresh the page and gain access again.
Method 2 - Iframe embedding
The endpoints for the process are the following:
| Testing | Production | |
|---|---|---|
| Endpoint for getting the token | https://ax-stage.maventa.com/oauth2/token | https://ax.maventa.com/oauth2/token |
| Endpoint for initiating a new EUI session | https://autointerface-embeddable-stage.maventa.com/authentication/token | https://autointerface-embeddable.maventa.com/authentication/token |
| Endpoint for renewing the token | https://autointerface-embeddable-stage.maventa.com/authentication/renew | https://autointerface-embeddable.maventa.com/authentication/renew |
Start monitoring the token expire time for automatic session renewal
While the user’s EUI session is active you need to act when the token is about to expire. The expires_in attribute in the token response tells how long the access token is valid. To be sure deduct a few minutes from the time to not run into issues. It’s important to stop the renewal process if the user closes the EUI session or the user have logged out in some other way.
The provided token in the initial request will be valid for one hour and if the token is not renewed the users session will end when the token expires. This means if the user has the EUI open for over one hour the session will be unusable and needs to be restarted with a new authentication. To prevent this the token can be updated for the user in the background without the user noticing anything (Step 4). To be able to renew the token the first thing to do is to pass a unique ID as the session id for each authentication that is initiated, this to be able to associate to the session on renewal. The unique ID is given in the session_id parameter on the initial authentication request (see the step 3).
Open the EUI session in a browser component
When you have a token you are ready to open EUI in a browser window.
Depending on the browser component capabilities it varies a little how the EUI session can be initiated. The token can be put in either the POST body or in the Authorization header as a Bearer token.
| Parameter | Desciption | Value/example |
|---|---|---|
| token | access_token property from the OAuth2 response | eyJhbGciOiJIUzI1NiIsInR5cCI6IkpXVCJ9…. |
| profile | Each ERP using the EUI will have their own (profile) for customisation | my_erp_profile_name |
| locale | For defining language of the EUI (fi,se,no,dk,nl) | no |
| redirect_to | What page to open. List of (direct URLs) | /invoices |
| session_id | Define a session id. We prefer UUID | erp_users_session_id |
cURL for initiating EUI session with POST
curl -X POST "https://autointerface-embeddable-stage.maventa.com/authentication/token"
-H "Content-Type: multipart/form-data"
-F "token=eyJhbGciOiJIUzI1NiIsInR5cCI6IkpXVCJ9......"
-F "profile=my_erp_profile_name"
-F "locale=no"
-F "redirect_to=/invoices"
-F "session_id=erp_users_session_id"
Example code on how to use the HTTP POST method with the token login (and additional parameters):
<!DOCTYPE html>
<html>
<head></head>
<body>
  <form action="https://autointerface-embeddable-stage.maventa.com/authentication/token" method="POST" target="_blank">
    <fieldset>
      <legend>Authentication using token</legend>
      <br/>
      <label>token:</label>
      <input type="text" name="token" size="100" />
      <br/>
      <label>session_id:</label>
      <input type="text" name="session_id" size="70" />
      <br/>
      <label>redirect_to:</label>
      <input type="text" name="redirect_to" size="70" />
      <br/>
      <label>profile:</label>
      <input type="text" name="profile" size="40" />
      <br/>
      <br/>
      <input type="submit" value="Log in"/>
    </fieldset>
  </form>
</body>
Renew the token for an existing session
When the token is about to expire a new token needs to be obtained exactly the same way as in (Step 1).
The token then needs to be passed to the renew endpoint in EUI, combined with the session_id generated in the initial request. If you are able to extract/use the session cookie from the browser component it’s possible to use that when renewing the token, then there is no need to pass and use the session_id.
cURL for initiating EUI session with POST
curl -X POST "https://autointerface-embeddable-stage.maventa.com/authentication/renew"
-H "Content-Type: multipart/form-data"
-F "token=eyJhbGciOiJIUzI1NiIsInR5cCI6IkpXVCJ9.eyJpZGVudGl0eSI6InVzZXIiLCJ1c......"
-F "session_id=erp_users_session_id"
Customise your own view of the EUI
EUI is highly customisable and every ERP can create their own look and feel of it. You can decide what to show to your end customers through the EUI and what should be hidden from them. For example if there is no invoice receiving capabilities in the ERP, received invoices list can be hidden and as well all the invoice receiving related settings. Customised view will greatly improve the user experience by always provide only useful information to the end customers. Customisation of the EUI is a really cool feature.
Customisation can be done using the ERP profiles and optional setup parameters:
ERP Profiles
ERP profiles are the main way to customise the views and are created for each ERP using the EUI. Using profile in a call toward EUI will load the ERP specific view. ERP profiles are created and modified by Maventa team based on the ERP’s needs and requirements. So before you start to build the integration towards the EUI, please contact Maventa support and ask for an EUI profile. One ERP can have multiple profiles. For example one for each version of the system or if you have different customer groups and would like to show them different content based on what functionalities they have in use.
...&profile=name_of_the_profileWhen we add something big to the EUI for example a new service or functionality we will always contact all the EUI ERPs if they wish to have that new service visible also to their customers. Using EUI comes really handy by reducing the time to market of new services. Of course it is good to keep in mind that some of the new services might also require some changes from the ERP side or to the API integration but some services work just fine only through the EUI.
Setup parameters
Profiles are great way of setting up the EUI look and feel, but if you want to have further control use the EUI setup parameters. EUI setup parameters have the same structure as the profiles and those can be used in combination with a profile. EUI setup params will override any setting from the profile so if you want to have a bit different views for one specific customer you can do it by using setup parameters. Empty values for any EUI setup parameter, equals false.
Let’s say that you have few customers that do not receive invoices through your ERP at all and you want to provide them a different view than for the rest of your customer by hiding all that is related to the invoices receiving:
- To hide received invoices list
- To hide settings for invoice receiving
EUI setup parameters will look like:
...&setup[sections][invoices][inbound]=false
&setup[sections][settings][invoice][receiving]=false
List of setup parameters
Here is a list of setup parameters you can use to hide or show parts of the EUI. If you wish to hide or show something that is not on this list please contact us and we will see if can fulfill your request.
Menu
- menu - show/hide all menus (top and left)
- menu top_menu - show/hide only the top menu
- menu left_menu - show/hide only the left menu
Invoice lists
- sections invoices
- sections invoices inbound - show/hide the received invoices button (list)
- sections invoices outbound - show/hide the sent invoices button (list) and invoices in error state button (list)
Settings
- sections settings - show/hide the whole settings tab from the top menu
- sections settings company - show/hide the company settings from the settings’ left menu
- sections settings company details - show/hide the company details under the company settings
- sections settings company address - show/hide the company’s address information under the company settings
- sections settings invoice - show/hide all invoice settings from the settings’ left menu
- sections settings invoice receiving - show/hide invoice receiving settings under the invoice settings
- sections settings invoice sending - show/hide invoice sending settings under the invoice settings
- sections settings invoice layout_settings - show/hide invoice layout settings under the invoice settings
- sections settings invoice notifications - show/hide invoice notification settings under the invoice settings
- sections settings company - show/hide the company settings from the settings’ left menu
Other documents
- sections documents
- sections documents order - show/hide the orders from the dropdown of document types
- sections documents order_response - show/hide the order responses from the dropdown of document types
- sections documents catalogue - show/hide the catalogues from the dropdown of document types
- sections documents catalogue_response - show/hide the catalogue responses from the dropdown of document types
Direct URLs
With direct URLs customers can be redirected straight to the page you want. In the part of the ERP where invoices are handled could be a direct link to the invoices list of the EUI. And in the part where there are all the setting there could be a link to open up a settings page of the EUI. You can also have direct link for only showing details of an one invoice if you for example want to integrate the EUI invoice details as being part of the invoice details shown in the ERP.
URLs
Dashboard
- ”/” - Dasboard of the EUI (Currently blank page with menus)
Invoice lists
- “/invoices” - Received invoices list
- “/invoices/outbound” - Sent invoices list
- “/invoices/error” - Sent invoices in error state list
Invoice details view
- “/invoices/invoice_id - Showing details for one particular received invoice
- “/invoices/outbound/invoice_id - Showing details for one particular sent invoice
Invoice related settings
- “/settings/invoice/sending/index” - Settings: invoice sending related settings
- “/settings/invoice/notifications/index” - Settings: invoice notifications
- “/settings/invoice/receiving/index” - Settings: invoice receiving related settings, activation of receiving from different networks like Peppol, activating scanning service
- “/settings/invoice/bank_network_no/index” - Settings: Consumer invoicing activation and setting for Norwegian companies
- “/settings/invoice/bank_network_fi/index” - Settings: Bank network activation for Finnish companies (Not really needed anymore for the new companies that gets the bank network activation together with the company registration)
Company basic settings
- “/settings/company/details/index” - Settings: company details
- “/settings/company/address/index” - Settings: company address information
Other documents lists
- “/documents” - Received documents list
- “/documents/outbound” - Sent documets list
- “/documents/error” - Sent documents in error state list
Other documents settings
- “/settings/document/receiving/index” - Settings: Receiving settings for other documents than invoices
- “/settings/additional_services/visma_scanner_receiving/index” - Settings: Visma Scanner activation settings
Services
- “/finder” - Finder, the tool for searching receiver’s e-invoice addresses
- “/receivables” - Receivables Management Service (Finnish companies)
- “/consumer_vendor_registry” - Consumer agreements (Norway)
Receivable’s assignment details view
- “/receivables/invoice_id - Showing details for one particular receivable assignment
Supported browsers and their versions
- Chrome
- Firefox
- Safari
- Edge